Create a Staging Site in WordPress Safely
Published on November 8, 2026
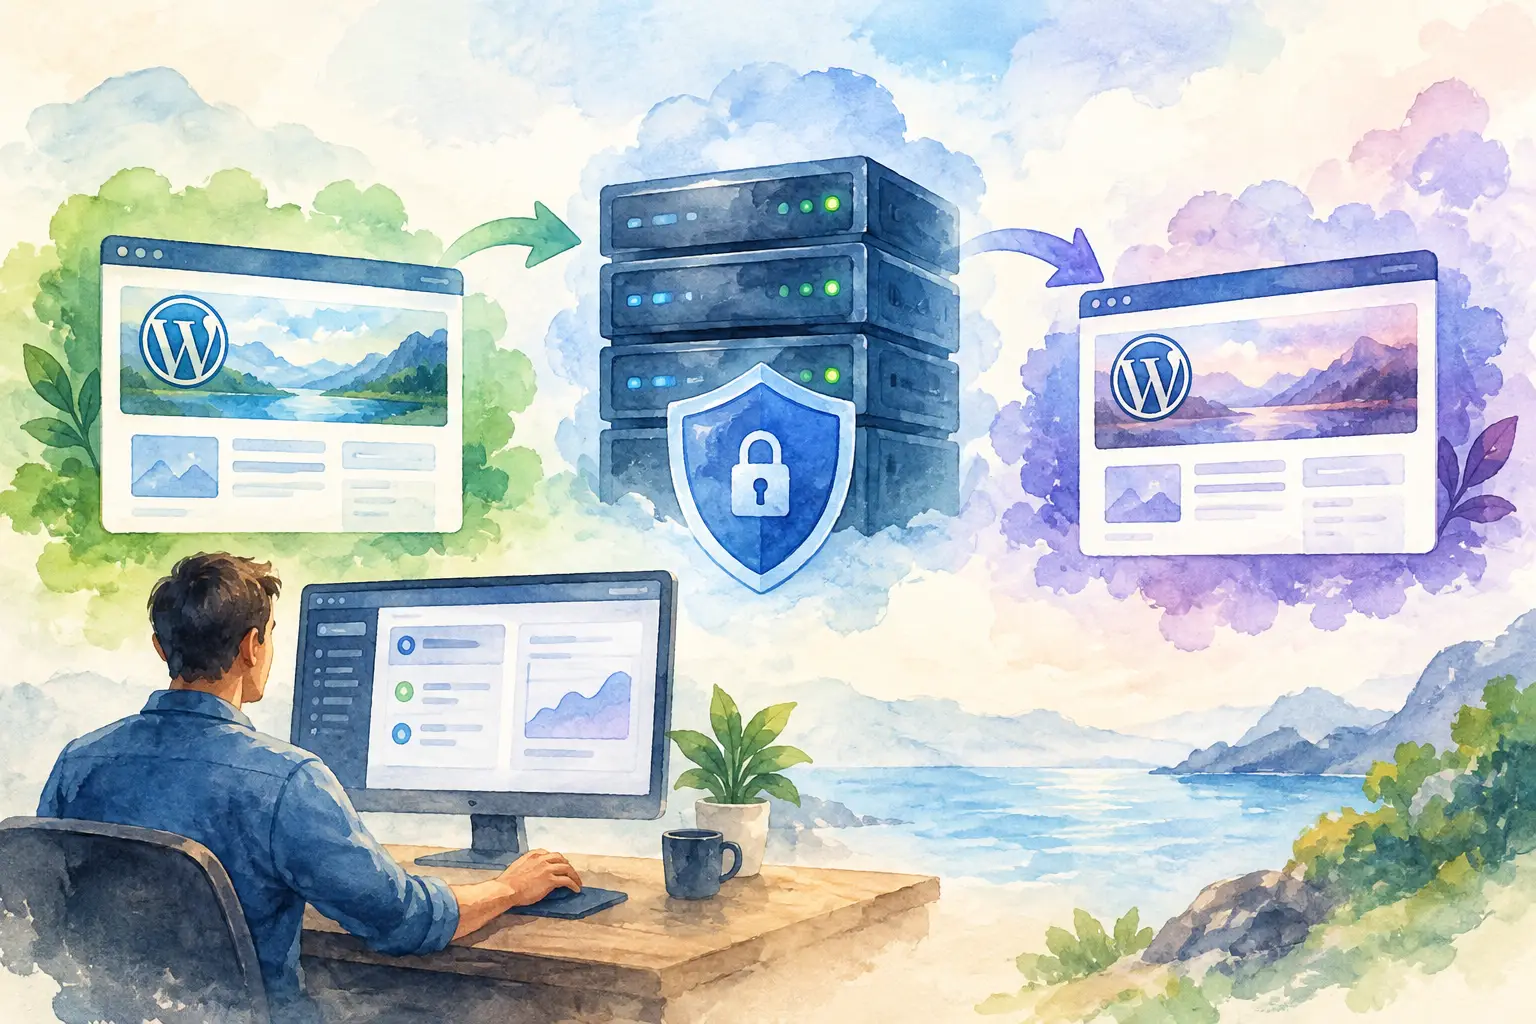
A plugin update should not be a live experiment on a website that collects leads, processes orders, or represents your business. When you create a staging site in WordPress, you get a private place to test changes before visitors see them. That means fewer surprise layout breaks, fewer checkout problems, and far less pressure when a client says, “Can we change this today?”
A staging site is not a luxury reserved for large development teams. It is a practical part of running a WordPress site responsibly. The setup can be simple, but the details matter: a poorly isolated staging copy can send test emails to customers, confuse search engines, or overwrite fresh live data during deployment.
What a WordPress staging site actually does
A staging site is a copy of your live WordPress website hosted in a separate environment. It usually has its own subdomain, files, and database, while using the same theme, plugins, settings, and content as the production site at the moment it was copied.
For example, your live site might be available at `example.com`, while staging runs at `staging.example.com` or on a temporary domain. Visitors use the live site. You and your team make changes on staging first.
The goal is not to make staging permanent or perfectly current every minute. Its job is to give you a realistic testing environment before you change production. For a simple brochure website, refreshing the staging copy before a major update may be enough. For a busy WooCommerce store, membership site, or learning platform, you need a more careful workflow because orders, user accounts, and other live data change constantly.
When you should create a staging site in WordPress
Use staging whenever a change could affect design, functionality, speed, security, or customer experience. That includes WordPress core updates, plugin and theme updates, PHP version changes, new payment tools, caching changes, custom code, and redesign work.
It is especially useful when several plugins depend on one another. A single update might work by itself but conflict with an older add-on, a custom theme function, or a server-level cache. Finding that out on staging is much better than finding it after a customer reports a broken contact form.
Small changes do not always require a full staging workflow. Updating a sentence, replacing an image, or publishing a blog post can normally happen on the live site. The line is simple: if a change can break something beyond the page you are editing, test it first.
Choose the right staging method
There are three common ways to build a staging environment. The right one depends on how much control you need and how comfortable you are managing files and databases.
Use your hosting control panel
Many hosting platforms provide a one-click staging or cloning tool. This is usually the best choice for site owners, freelancers, and agencies that want a dependable setup without manually copying databases or editing configuration files.
A capable server panel keeps website files, databases, domains, SSL settings, and backups in one place. That matters because staging is not only a WordPress task. It also involves the hosting environment around WordPress. FASTPANEL is designed to make that environment easier to manage, so you can keep website operations visible without turning every change into a command-line project.
Before using any automated staging tool, check what it copies and what it pushes back to production. Some tools replace the entire live site during deployment. Others let you move only files or selected database tables. That difference is critical for active stores and sites with frequent user activity.
Create a staging copy manually
Manual staging gives you the most control. You create a subdomain or separate domain, copy the WordPress files, export and import the database, create a new database user, and update the `wp-config.php` file to point to the new database.
You must also replace live URLs in the copied database. WordPress stores URLs in many places, including post content, options, widgets, and serialized plugin settings. A careless find-and-replace can damage serialized data, so use a WordPress-aware migration tool or a database replacement process that handles serialized values correctly.
This route makes sense for developers, custom builds, and teams that need precise control over the environment. It takes longer, but it is not mysterious once you understand the moving parts.
Build staging locally
A local WordPress installation on your computer is useful for early development, theme work, and experiments that do not need server-level testing. It is fast and private, but it cannot fully reproduce your production server, caching layer, email behavior, or PHP configuration.
Local development and server staging work well together. Build the feature locally, test it on staging under real hosting conditions, then deploy it to production.
Set up staging without creating new problems
The copy process is only the first step. A staging site needs guardrails before anyone starts testing.
First, protect it from public access. Add password protection at the server level when possible. WordPress’s built-in search engine visibility setting is helpful, but it is a request rather than a locked door. Password protection prevents casual visitors, bots, and clients from landing on unfinished work.
Next, prevent indexing. In WordPress, go to Settings, then Reading, and discourage search engines from indexing the site. You can also use a `noindex` directive. Do both when possible. A staging copy competing with your live pages in search results is an avoidable mess.
Then control outgoing email. A copied site may contain real customer addresses, order notifications, and form settings. Configure staging to redirect mail to a safe inbox, disable transactional email, or use a mail logging tool. Never let a staging order confirmation or password reset reach a real customer.
Finally, check integrations. Disconnect live payment gateways, shipping services, CRM tools, analytics tags, automation platforms, and social posting tools where appropriate. Test modes are useful, but only if you confirm they are actually enabled.
Test changes like a visitor would
A green update screen is not proof that the website works. After each meaningful change, test the paths your users rely on.
For a standard business website, open key pages, submit every important form, check mobile layouts, confirm menus work, and look for visual issues in the header and footer. Test while logged out as well as logged in. Cached administrator views can hide problems that regular visitors will see immediately.
For WooCommerce, add a product to the cart, apply a coupon, test shipping calculations, proceed through checkout using a test payment method, and confirm order emails stay inside your test environment. For membership sites, test registration, password resets, restricted content, and subscription behavior. If your site has multiple languages, test the language switcher and translated checkout or form pages too.
Browser developer tools and WordPress debug logs can help identify errors, but do not make technical testing the only test. Click through the site like a customer who has no idea what changed behind the scenes. That is usually where the useful problems appear.
Push changes to live carefully
Deployment is where staging workflows can either save the day or create a new outage. The safest approach depends on what changed.
If you updated a theme, modified CSS, added a plugin, or changed custom code, pushing files may be enough. If you changed WordPress settings, created pages, edited templates in the database, or adjusted plugin configuration, you may need database changes too.
Be cautious with full database pushes. Replacing the production database with an older staging database can erase new orders, form submissions, comments, user registrations, bookings, and support requests created since you made the staging copy. This is why active sites often deploy code and selected settings rather than the entire database.
Before deployment, take a fresh backup of the live site. Put high-traffic stores into maintenance mode only if necessary, and choose a quiet period for changes that could affect checkout or logins. Once the update is live, repeat the key tests on production. Yes, even if staging passed. Caches, DNS, payment configurations, and server differences can still change the result.
Keep staging useful, not forgotten
A staging site becomes less valuable when it is months behind production. Refresh it before major work so the theme, plugins, and configuration resemble the live site you are about to change.
At the same time, do not automatically copy sensitive production data when you refresh. Customer records, order information, and personal data may not belong in a development environment. If your site handles sensitive information, consider anonymizing data or using a reduced test dataset.
Delete unused staging copies, remove temporary administrator accounts, and keep WordPress updated there too. An abandoned staging site is still a website on your server, and it can become a security issue if nobody is watching it.
The next time a plugin asks for an update or a client requests a last-minute design change, give the work a safe place to happen first. A staging site does not make every change risk-free, but it gives you room to catch trouble before your visitors do.